Hey all,
I would like to create dive site maps for work. I know that a previous worker created some maps by drawing them by hand first and than transforming them into a vector graphic (see pdf attached).
My colleagues will be able to draw the maps (see attached picture) and I tried to transform them into a vector with Inkscape. The best result I got by using the "bitmap drawing" function. It produces a really detailed map with a lot of nodes. I tried to simplify the path afterwards but I could only simplify the path one time or not at all before I loose too much detail.Is there any way to change the settings of the simplifying tool?
I also tried the free hand tool but as the drawings are really detailed, I ended up with a lot of different path pieces...
As I want to color the map afterwards, I need closed areas, which was easier to achieve with the "bitmap drawing" tool. Unfortunately, there are still some gaps inbetween the paths, so the coloring doesn't work really well. I used the bucket to fill the different areas but I always have small white gaps between the path and the filling.
Which option would you choose to transform these kind of drawings to a vector? Free-hand, bitmap tool... How would you fix the problem with the coloring? I hope, you can give me some ideas how to create a detailed map, which is easy to color.
Thanks a lot in advance.
How to create colored dive site map?
-
andyhandypandy
- Posts: 1
- Joined: Mon Apr 24, 2017 3:27 pm
How to create colored dive site map?
- Attachments
-
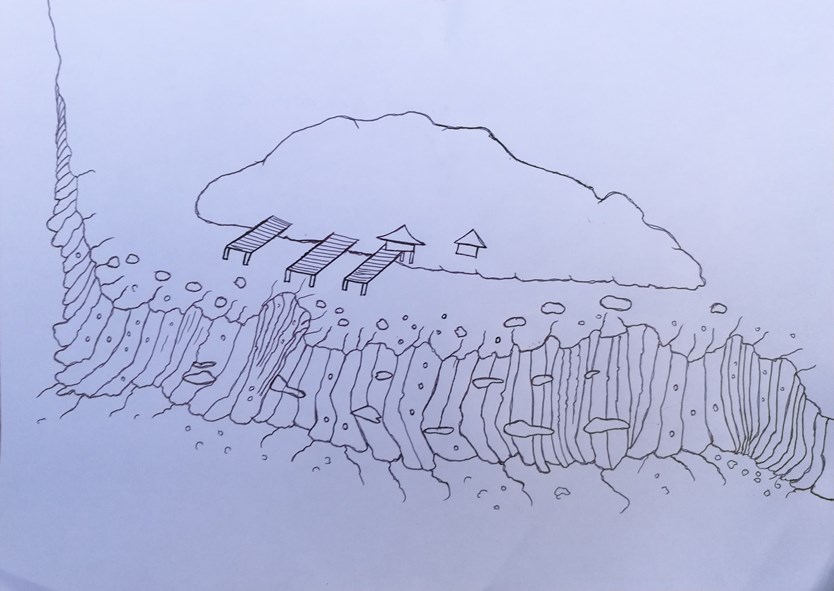
- IMG_20170422_173745.jpg (83.41 KiB) Viewed 928 times
-
- bodu gaa.pdf
- (140.32 KiB) Downloaded 139 times

Re: How to create colored dive site map?
This is pretty similar to tracing, then colouring, outline artwork for comics, so my experience in that area may help.
You could do a manual trace by drawing over the lines, but it would be time consuming. Trace Bitmap is the route I would take, but it does tend to result in far more nodes that you need - and unfortunately the Simplify command only works on the entire path, with no way to make it just work on the selected nodes. You can try playing with the resolution of the original bitmap (i.e. scale it up or down in an external bitmap editor first) to see if you get better results. Or just live with the extra nodes - they won't add a huge amount to the file size, they just require slightly more imaginative approaches to editing.
As for the gaps between closed areas, and dealing with the white gaps around bucket fills, rather than repeat myself here I suggest you look at my Inkscape tutorials - particularly parts 17 to 21 which deal with tracing and colouring line art.
Re: How to create colored dive site map?
For the problem with Simplify, I have a couple of suggestions. I've recently discovered that if you have a path with only a few nodes, and another path with say a couple hundred -- if you select them both, or select all, where the number of nodes per path varies quite a bit, Simplify will cause distortion on some of the paths. However, if you select the paths individually, or at least select only those with too many nodes, it doesn't distort.
The other thing is that you can change the threshold for Simplification, in Preferences > Behavior. However, even if you change the threshold, I suspect that if you select mixed paths, meaning some paths with many nodes and other paths with just a few, at the same time, you'll still find some distortion in some places.
As you've discovered, you need closed paths to be able to easily fill them. You can use the Node tool, and process often referred to as node editing, to create closed segments.
Or in some cases, it might work to use certain path operations. Like for example, you closed a path and filled it. But now you have a piece which shares part of the border of that first piece. To be able to make a close path for the piece next to it, sometimes you can use Difference or Intersection, to quickly create those pieces. http://tavmjong.free.fr/INKSCAPE/MANUAL ... ining.html
Basics - Help menu > Tutorials
Manual - Inkscape: Guide to a Vector Drawing Program
Inkscape Community - Inkscape FAQ - Gallery
Inkscape for Cutting Design
Manual - Inkscape: Guide to a Vector Drawing Program
Inkscape Community - Inkscape FAQ - Gallery
Inkscape for Cutting Design
Re: How to create colored dive site map?
I'd use centerline trace for this: https://github.com/fablabnbg/inkscape-centerline-trace
Something doesn't work? - Keeping an eye on the status bar can save you a lot of time!
Inkscape FAQ - Learning Resources - Website with tutorials (German and English)
Inkscape FAQ - Learning Resources - Website with tutorials (German and English)
Re: How to create colored dive site map?
The "cheap-o" solution would be using the trace bitmap.
That would draw one single path with quite large node count. Instead of using that as "outlines" above filled areas, the trick would be breaking apart that path (Ctrl+Shift+K).
Set object opacity to 50% so then you can select the previous subpaths better.
Select those subpaths that were "edges" of the "holes" they will be fills on top so set a lighter fill to them.
Once finished with that step, set all opacities back to 100%.
Should work like a charm.