 Currently, a user has access to two gradients (or may blend both gradient effects in the same object):
- use a transparency gradient: from an opaque colour of one's choice on one end blending to complete transparency on the other.
- use a color gradient: from a solid colour of one's choice on one end blending to a different colour on the other.
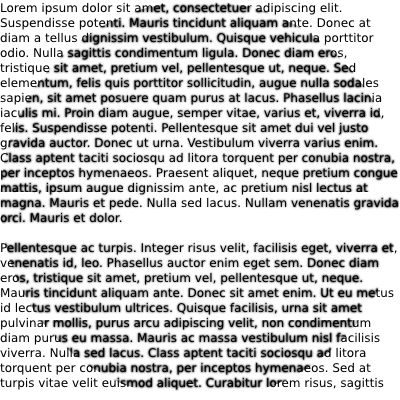
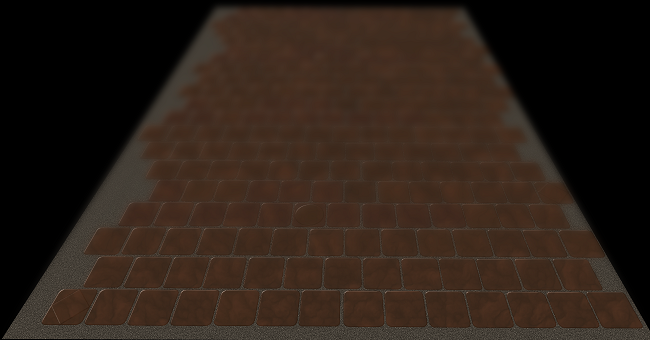
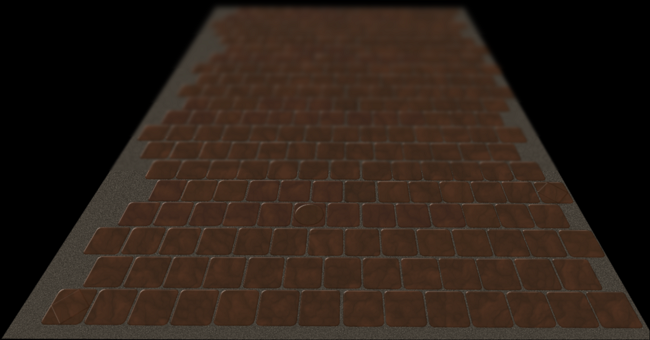
the concept of gradient blur
An object drawn, a rectangle for the purpose of this illustration, could be set to a blur of 0 on one end blending to a blur of a different number (example: 4) on the other end. This would give objects a sense of depth that is often seen when photographing model towns, etc., with a wide aperture, giving a narrow depth of field.
layered effect
The gradient would affect all objects "beneath" it on the same layer if the object in question is transparent. Example:
- Create a rectangle.
- Set it to No Stroke.
- Set the Fill to 100% transparent.
- Set our "gradient" blur from 0 to 4.
- Place the rectangle over a variety of objects in the work area: triangles, text, imported images, ellipses, spirals, etc.
- Objects closer to the 0 blur edge of the rectangle would all display the least amount of blur.
- Objects closer to the 4-blur edge of the rectangle would all display the larger amount of blur.
As with other gradients, a varied number of "stops" can be added, allowing for a gradient of 4 blur to 0 blur to 5 blur (for example).
Thoughts? Ideas? Improvements? Objections?
 This is a read-only archive of the inkscapeforum.com site. You can search for info here or post new questions and comments at


 tool (for both fill and stroke),