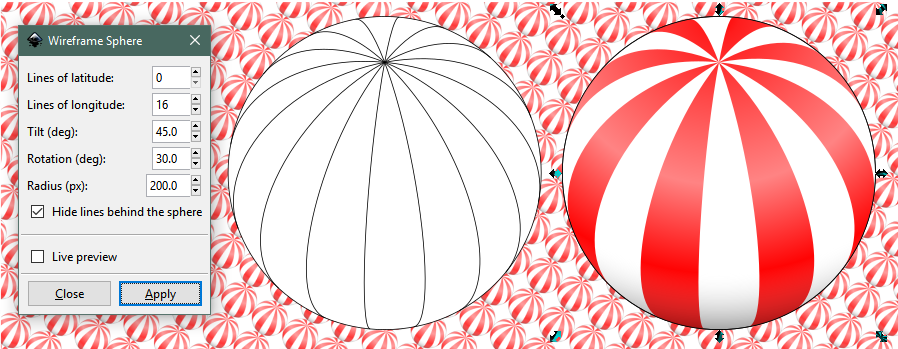
And to confirm something, if I want perfect circle, I draw a circle and then click transform, input any number and click on scale proportionally?
Yes, that will work.
There are probably many ways to make the stripes curve in the round buoy. How did you make the stripes in the other buoys? I'm just curious.
I would do it using node editing. Maybe others will explain how they would do it?
1 - Draw 2 long skinny rectangles to be stripes.
2 - Path menu > Object to Path
3 - Switch to the Node tool
Now you should be seeing 8 nodes, one at each corner of each rectangle. You can just drag those around as needed, to make the stripes look right. With the Node tool, you can also drag the path itself. After you drag a path a little bit, select a node. Now you can see some thin blue lines with tiny circles on the end. Those are the node handles. By grabbing the tiny circle with the mouse, you can adjust the node handles, and that adjusts the curves of the path. So just drag around the path and/or the nodes and/or the node handles, until you have the kind of shapes that you need.
If you're going to have 4 red stripes, you actually only need to make 2, with the Node tool. Then you can just duplicate those, and flip them horizonal, and they will be mirror images of the first 2. The button to flip them around is on the Selection control bar, and looks like this

I'll make a little video to show what I'm talking about. I'll be back shortly.
Edit
Ok, here's a short video showing the very, very basics about node editing.
https://inkscapecommunity.com/jd/vids/sb.mp4 so I can have it for printing on promotional materials. I manage (but not professionally) to get linear gradient for rectangle shapes with stripes ( I still do not know how to do it, I just had one rectangle with gradient in it in stripes and I modified the colors, but no idea how to rotate stripes so they stay parallel to the outside shape and etc.), but I have one more last buoy that is round shape and stripes have focal point (like circus tent). I do not know how to achieve this in Inkscape. So I am asking for help.
 This is a read-only archive of the inkscapeforum.com site. You can search for info here or post new questions and comments at


