Hi.
Captain obvious here, crop marks are useful only when you will crop the print. That is, when you'd want an edge-to-edge print with no white borders. Meaning cropping marks are unnecessary if you only want to print regular graphic with a safe area (parts not closer to the paper's edge than a certain amount, like 2-5 mm).
If you explicitely need to trim the print -in case of a custom print size or edge to edge graphic-, you need a larger paper size to be printed than the final output -so you can trim the paper's edges off-.
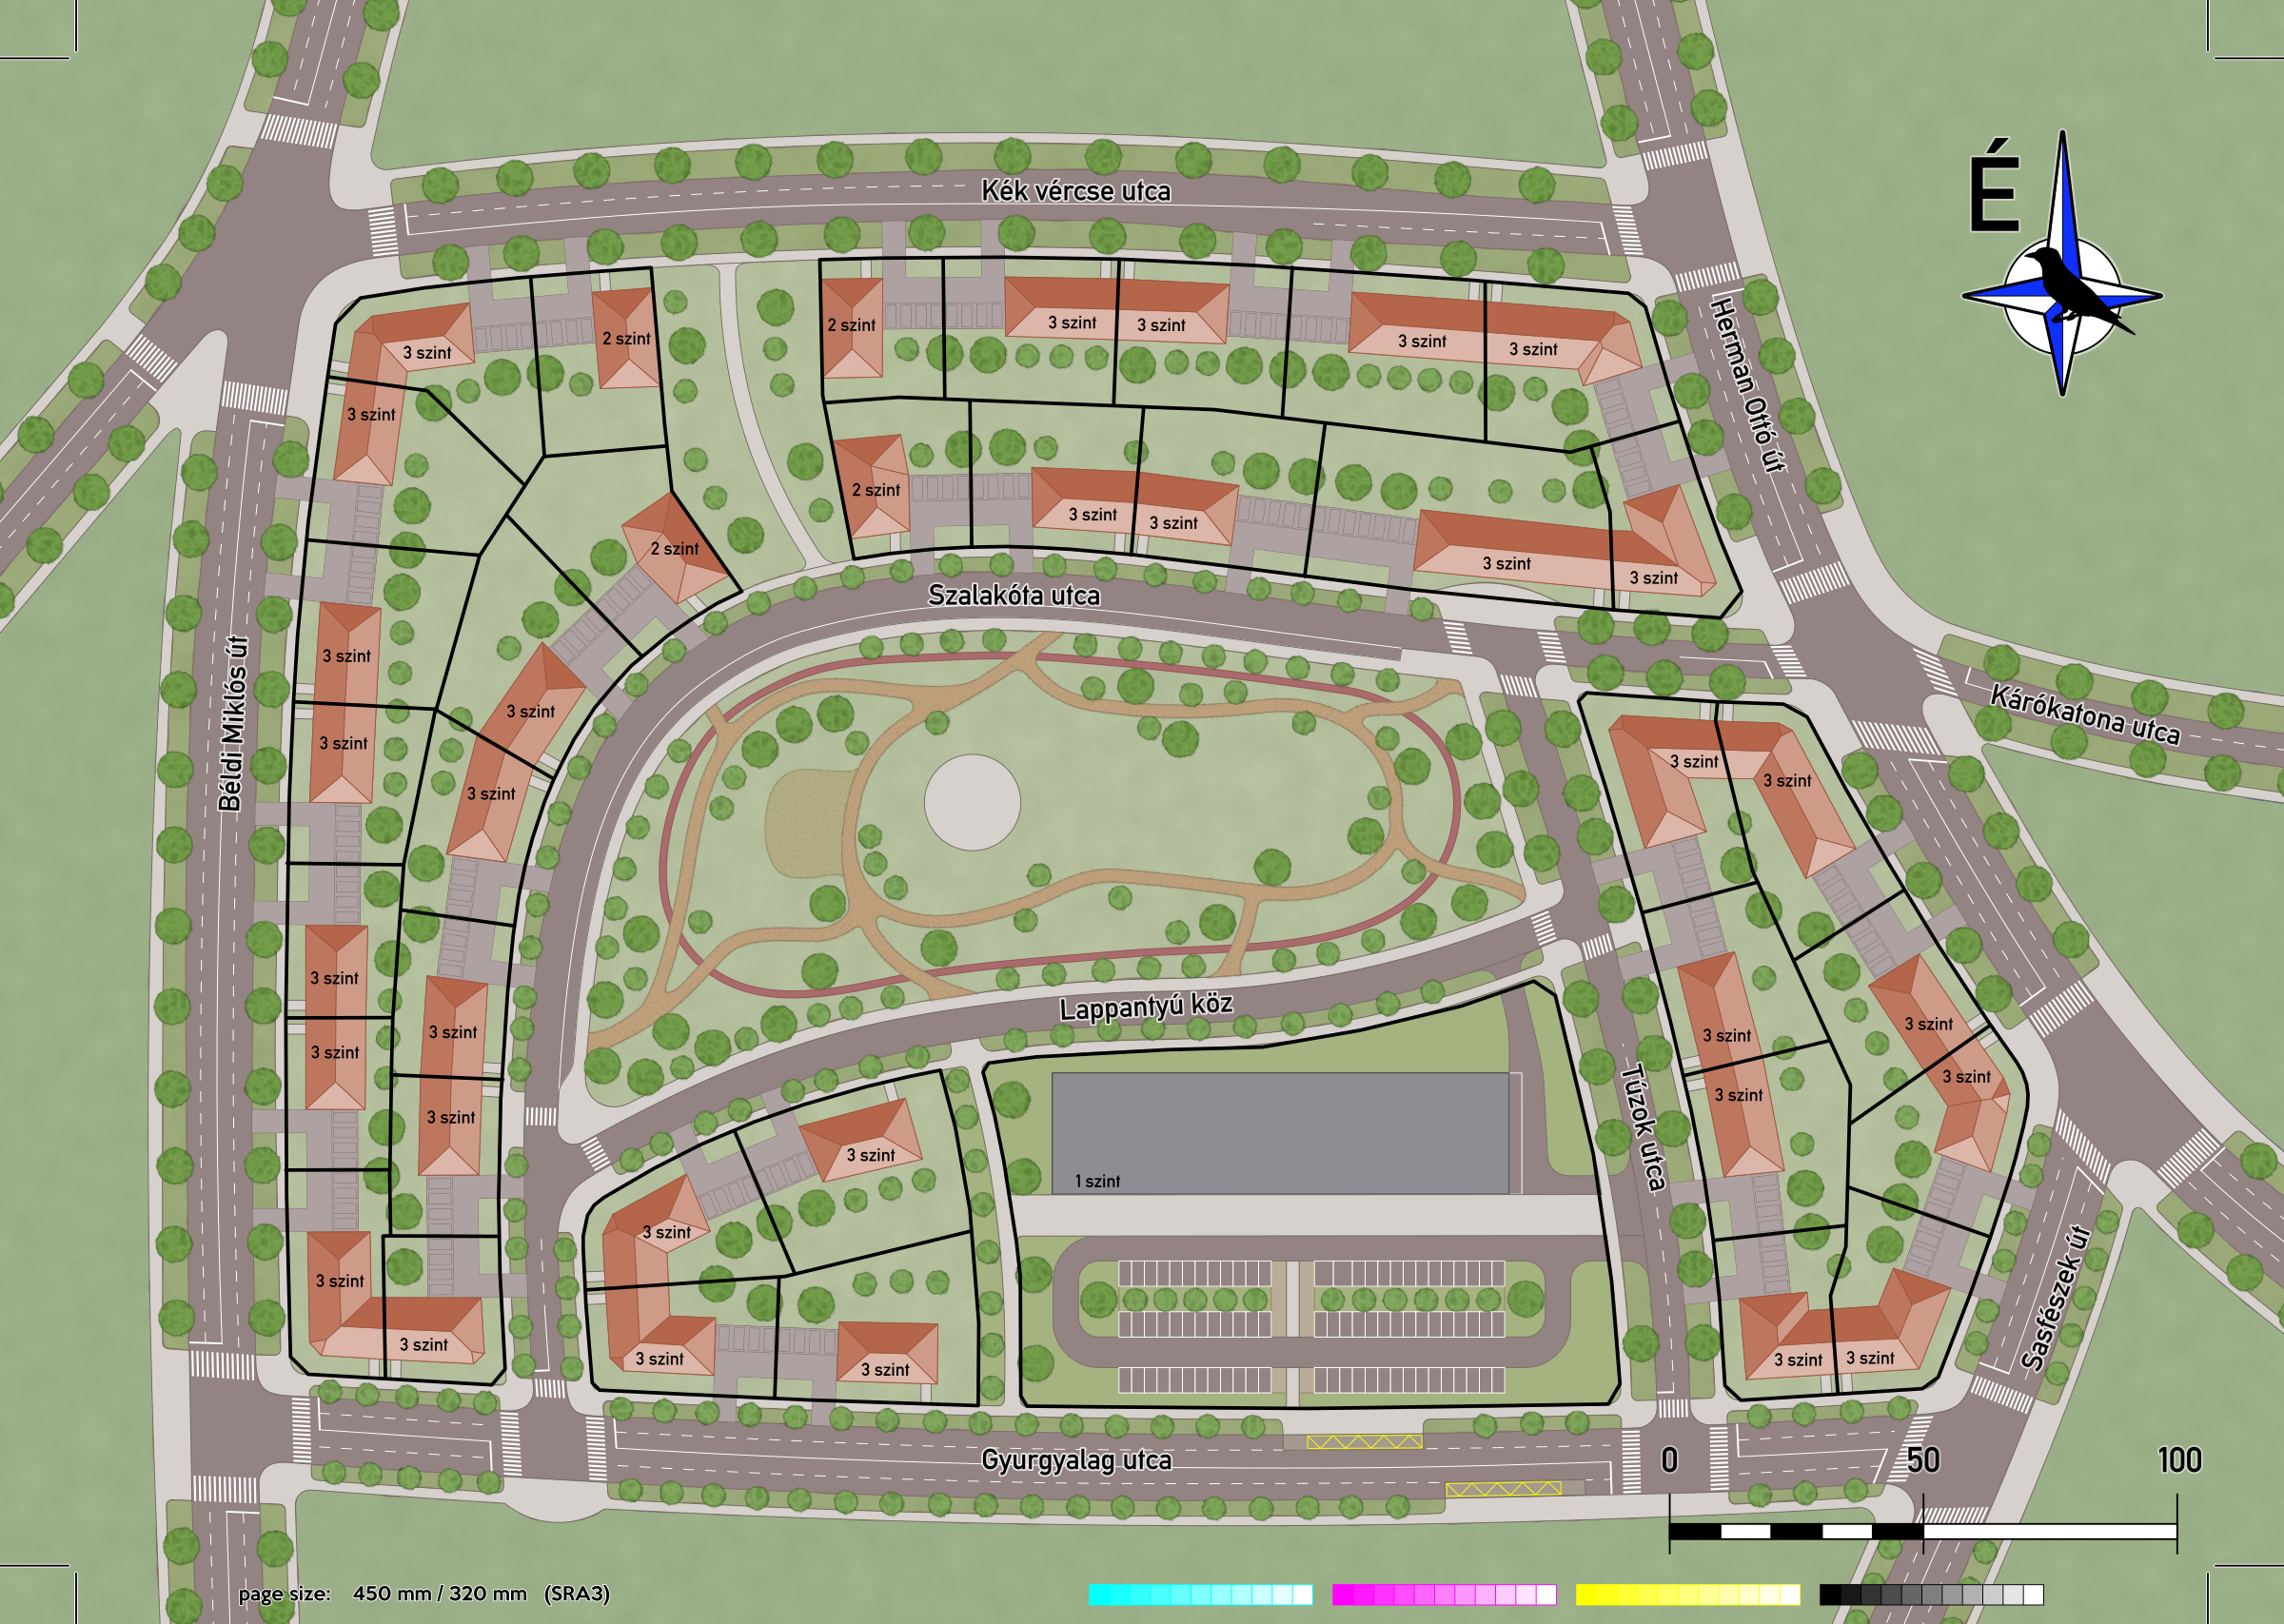
If you are printing in the A series, there are matching paper sizes. For example for an A3 sized trimmed print there is an SRA3 paper size (SRA3 is 450 mm/320 mm, A3 is 420 mm/297 mm).
So before you are adding crop marks of any kind, in the preparation process consult with the printer if they have the uncut paper series or of which is their matching one size larger paper format.
Then you'd need to resize your document accordingly.
Still after that, you'd need to resize your graphic too so there is an area that you can trim off, crossing the crop marks you draw.
There is an extension to render print marks including crop marks in extensions/render I belive but you'd still have to perform the previously mentioned actions.
As an example, here is a document set up for printing:

(Not sure if it was drawn in 90 or 96 dpi inkscape though)
Here is a description elaborating more on trim/bleed/safe area.